macOS Sequoia and Xcode 16 are the hot new softwares that have recently been released in the WWDC 2024
For Apple-platform software developers, it’s crucial to test their apps on those new beta versions and prepare for the final releases of macOS and iOS in the next few months.
Although Xcode 16 Beta is working on macOS Sonoma 14.5, but you will not be able to test macOS app or use the latest features that are only available on macOS Sequoia.
You don’t want to upgrade your main Mac machine to macOS Sequoia either because your main Xcode 15 will not work anymore.
The best option is to install macOS Sequoia and Xcode 16 in a virtual machine to test the this combination.
VirtualBuddy
There are multiple options to install macOS as a guest OS in a virtual machine, I’m using the lightweight, opensource app VirtualBuddy
Step 1: Install VirtualBuddy
VirtualBuddy is a free, open source app that can virtualize macOS 12 and later on Apple Silicon, with the goal of offering features that are useful to developers who need to test their apps on multiple versions of macOS, especially betas.
The advantage of VirtualBuddy is it’s lightweight, and very performant. It also supports downloading macOS installation images and shared folders, which makes it very convenient to use for quickly testing new macOS verions.
You can either download the latest version from GitHub page, or purchase it for small amount to support the development from Gumroad.
Step 2: Create a Virtual Machine
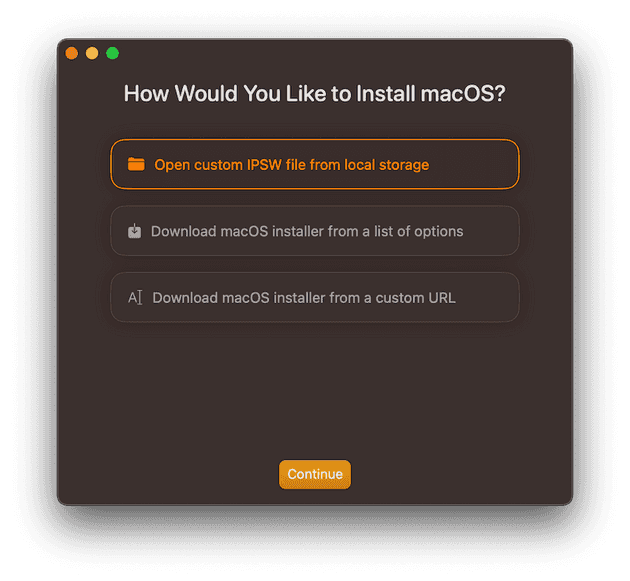
After installation, you can choose to create a VM by using pre-downloaded IPSW file or let VirtualBuddy to download it directly from Apple Server for you.

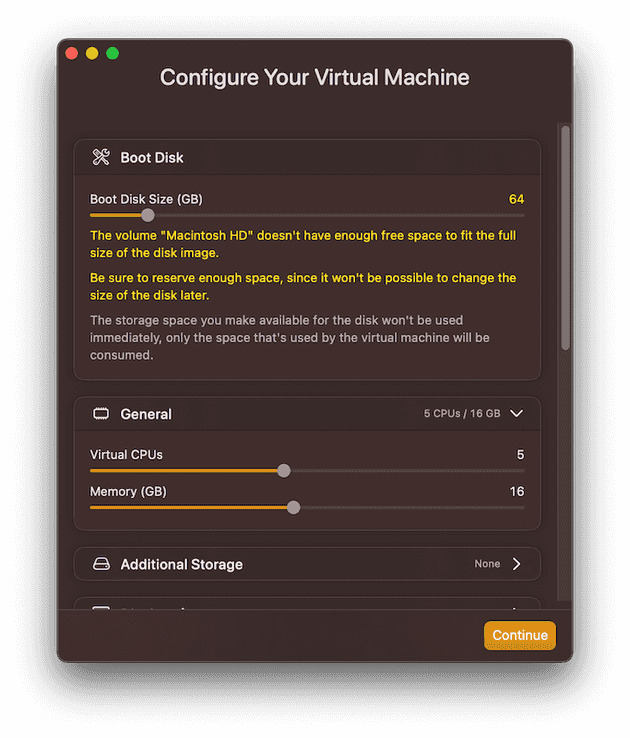
Ensure to give enough RAM and Disk space to your VM so that you can install and Xcode later. Also remember to add a shared folder to the VM so that you can exchange files between your host mac machine and the VM later. I add the folder containing my app source code directly as a shared folder so that I can run my app later directly from the shared folder inside the VM.

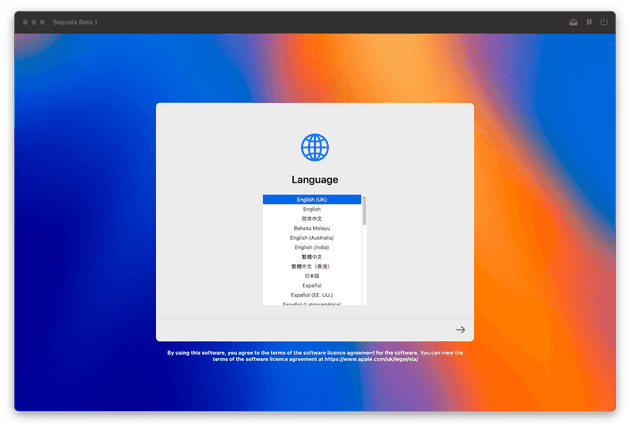
Finally, you can start the VM and install the macOS Sequoia as usual.

Step 3: Install Xcode
After the VM is setup with the latest macOS Sequoia, you can download the latest Xcode 16 from Apple Website.
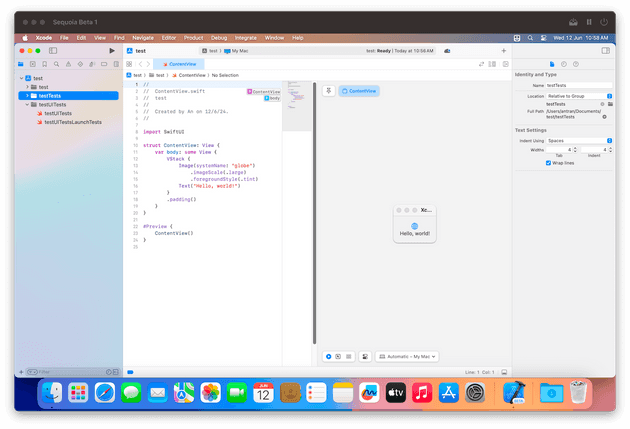
Finally, you can start compiling you apps using Xcode 16 running on macOS Sequoia for testing purposes

Limitation
One limitation of using macOS Sequoia on VMs is that, the most interesting features on Xcode 16, preditive code completion and Swift Assists would not work, it is confirmed by Apple Engineers. I really hope Apple will fix this issue in the future.
