The Problem
Apple is very aggressive in forcing users to upgrade to the latest version of their OSes. This pratice gives iOS developers some headaches since the latest macOS versions often don’t support the previous versions of Xcode. You can see more what versions of Xcode require which version of macOS here.
Although most of the cloud-based CI services are supporting multiple versions of Xcode, but it’s still worth it to have local setup of older Xcode versions to support local development activities.
Since my opensource project Scenarios is supporting iOS 11+, and my Mac is running macOS Ventura 13.5.2, I’m looking for a setup so that I can test the Scenarios code on iOS 11 locally before commiting it to Github.
The Options
Reusing old simulator runtimes
In the past, the iOS community has found a trick to install older iOS Simulator runtimes on the newer Xcode versions.
This method works pretty well and simple enough to follow. There might be some incompability issues between the runtimes and the iOS Simulators though.
Forcing older Xcode versions to run on newer macOS versions
There are also some tricks forcing older Xcode versions to run on newer macOS versions.
This method requires us to manually manipulate some parts of the Xcode installations (Info.plist).
Running older macOS versions virtually
All the options above are hacky, not always working and can easily break in future macOS/Xcode updates.
The most stable option is to install older versions of macOS using virtual machine apps.
There are both paid (e.g: Parallel, VMware Workstation Pro) and free options (e.g.: VirtualBox) available.
A noticable feature has been added recently in macOS from macOS 12 Monterey is the Virtualization.framework, which makes it much more easier to create apps that can create virtual machines and run macOS and Linux-based operating systems. The biggest advantages of Virtualization.framework are its great performance and compability with macOS.
Since the introduction of Virtualization.framework, the great Swift Community has come up with many interesting opensource solutions for creating macOS virtual machine envrionment, which are suitable for different use cases, such as local development or CI automations.
Noticable open source projects using Virtualization.framework are:
Those solutions are created with pros and cons and are best suitable for different use cases.
In this tutorial, I’ll focus on creating virtual machines, running macOS Monterey so that we can use Xcode 13.4.1 to run iOS Simulator 12 locally, while using the host machine with macOS Ventura 13.5.2.
Using UTM to run guest macOS Monterey on host macOS Ventura
I’m choosing UTM since it’s the most mature opensource app from my POV. It’s using VirtVirtualization.framework when possible, and fallback to QEMU for when needed.
And since the app is a native macOS app, it runs very smoothly on mac machines. It can even run on iOS 🤯.
Install UTM App
You can download the UTM app for free from the website here.
Or you can download the app from Mac App Store, which is not free at the time of writting!
Get macOS 12 Monterey
We will need macOS 12 Monterey installation image, which is available in ipsw file format.
To find the correct version, we can use websites like ipsw.me or mrmacintosh.com to find the correct image for the targeted macOS version.
For my purpose, I’ll download the UniversalMac_12.6.1_21G217_Restore.ipsw file.
NOTE: Please make sure you check that the url is a legit URL pointing to Apple Server. Avoid downloading files hosted somewhere else since the installation image might contain malicious softwares that could harm your machine.
Setup Shared Folder
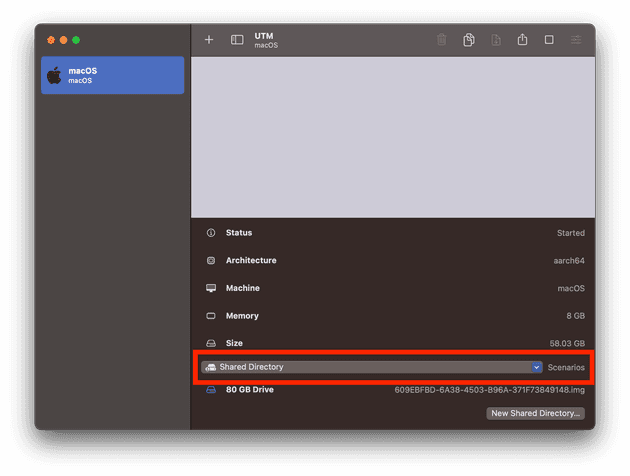
UTM supports shared folders between the host and guest OSes. It’s quite easy to setup from the UI

Unfortunately, shared folders only work with macOS 13+ inside the VM. It will not work with macOS 12 Monterey.
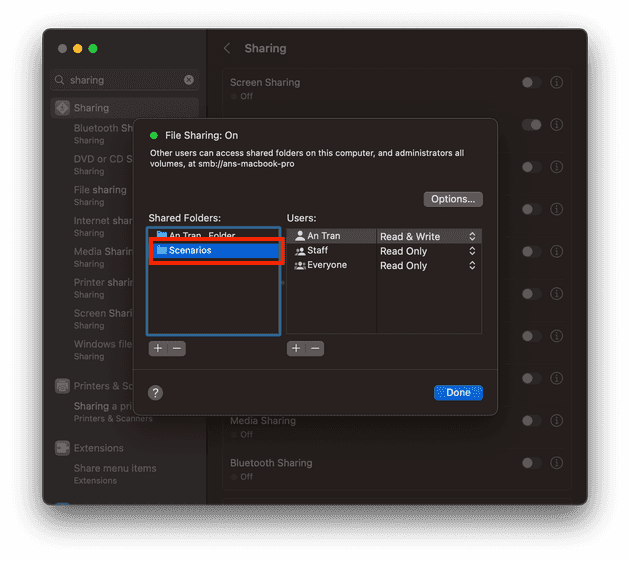
To solve this problem, we can use the File Sharing Setting from the host machine

Later, we will be able access this shared folder within the guest OS inside the VM to access to the source code we want to run.
Download and install Xcode 13, iOS Simulator 12
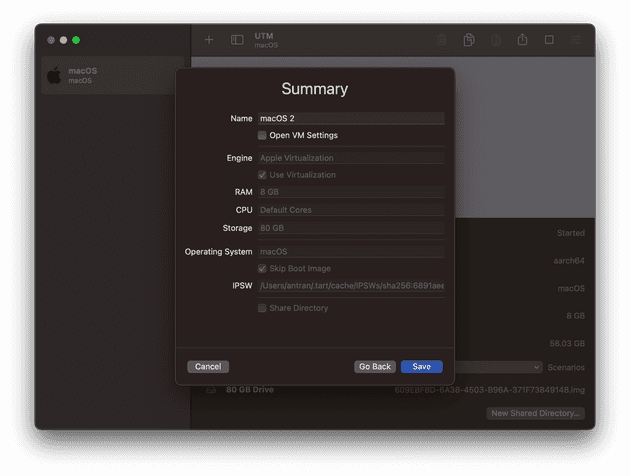
The UTM App is pretty easy to use, you can create a new VM, choose the ipws image you download earlier, setting up specs for the VM.

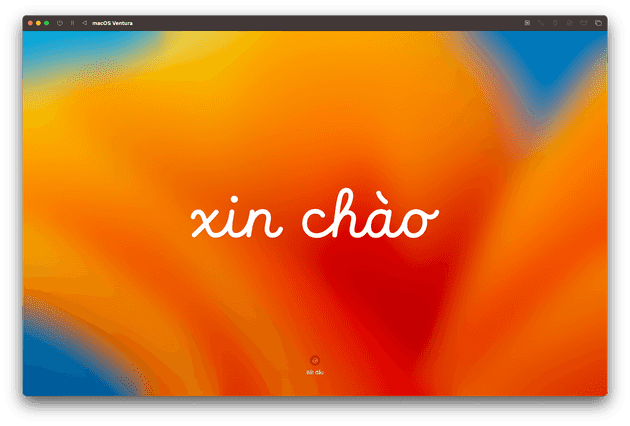
After booting up the VM, you will go through the macOS installation.

If everything works fine, your VM will boot up and it should have internet access immediately (if your host machine can connect to internet as well.)
Now you can download older version Xcodes from the Apple Developer website here.
I have downloaded Xcode 13.4.1 for my use case to run iOS 12 Simulator.
Test app on iOS Simulator 12
After installing Xcode and creating an appropriate simulator for testing purpose, I finally can open the Scenario project on Xcode 13.4.1 and run the demo app for my Scenario framework on iOS Simulator 12. It looks like that it’s working fine 😁.

Final words
This tutorial focuses on setting up UTM to run an older macOS version (Monterey) so that we can install older version of Xcode (13.4.1) to test our apps on older iOS Simulator (12). This setup should work in order to solve future deprecations of old Xcode versions on newer macOS versions as well.
This setup is suitable for local development purpose, such as reproducing a bug happening on older OS Version, or to test the new code on older iOS simulators.
In the next articles, I’ll show you how to use other tools to setup an ephemeral CI system that can run locally or integrate with Github Actions or Gitlab Runners to test and build your iOS Apps.
