The Problem
Last year, I have revamped my blog from scratch and decided to use Gatsby to create this blog.
I want to learn React and also want to create a minimal design for my blog.
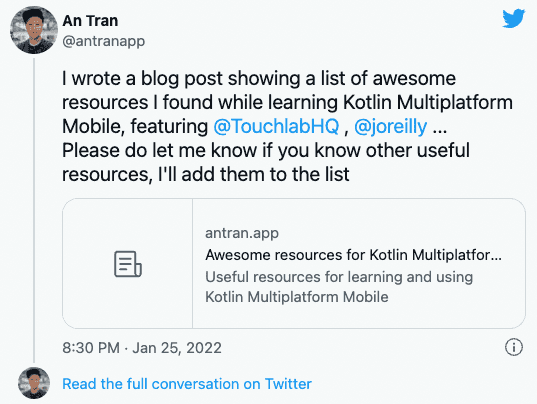
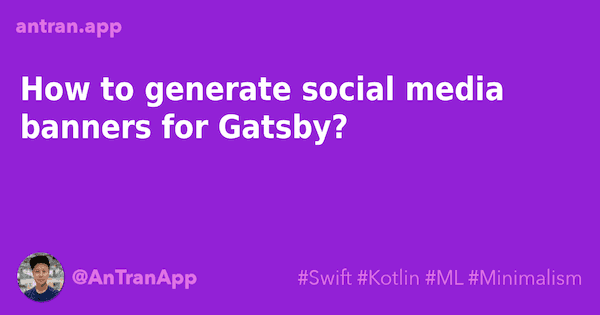
One missing feature from my blog that I need recently is missing banners when sharing my posts in social media, such as Twitter, Facebook, or LinkedIn

As I’m trying to become a content creator now, I learn a hard lesson that SEO is extremely important.
A link without a visual element doesn’t perform well. But investing in creating a banner for every single post is also time consuming. It’s also not scalable if I want to change the title of my post after publishing.
The Solution
There are some Gatsby plugins that provide abilitiy to generate banners automatically such as:
They all work well. If you need out-of-the box solution, you can take a look at them.
Since I’m learning React and want to optimise the solution for me, I have followed this excellent blog post to create a local plugin that I can costomise for my Gatsby setup.
The idea is to pull data from GraphQL and generate a banner for each blog post based on such data.
Step 1:
- Create an empty local plugin inside
pluginsfolder of your Gatsby setup.
plugins
└── gatsby-plugin-social-media-banners
    └── index.js
└── package.json- In
gastby-config.js, add this newly created plugin togatsby-transformer-mark
{
  resolve: `gatsby-transformer-remark`,
  options: {
    plugins: [
      `gatsby-plugin-social-media-banners`,
    ],
  },
},- Install jimp to manipulate images using javascript
npm i --save jimpStep 2:
Use any graphic design software to create a template banner. The optimal size is 1200x600.

During the generation process, we will fill that banner with the specific information of a blog post, such as title, date of publishing etc …

Step 3:
Write code to embed title of the blog post into the template baner
const path = require('path');
const jimp = require('jimp');

module.exports = ({ markdownNode }) => {
  const { frontmatter, fields } = markdownNode;
  const output = path.join('./public', fields.slug, 'seo.png');

  const WIDTH = 1200;
  const HEIGHT = 630;
  const PADDING = 40;

  return Promise.all([
    jimp.read(path.join(__dirname, 'banner.png')),
    jimp.loadFont(jimp.FONT_SANS_128_BLACK)
  ]).then(([image, font]) => {
    image
      .resize(WIDTH, HEIGHT)
      .print(
        font,
        PADDING,
        PADDING + 100,
        frontmatter.title,
        WIDTH - PADDING * 4,
      )
      .write(output);
  });
};
Running gatsby develop and navigate to any blog post
Step 4:
I’m using DejaVuSansCondensed font that I can download directly from here
But you can convert any font you want to use for you setup using the following step
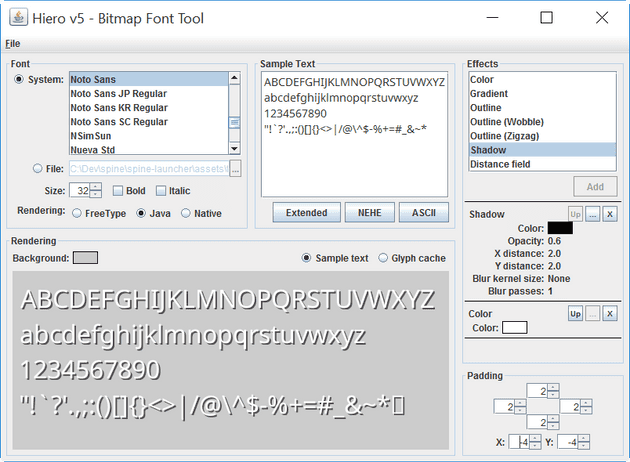
- Download Hiero to convert custom fonts to bitmap format
- Find the font you want to use from Google Fonts, download the font and use Hiero to convert them to
.fntformat.

Finally, you have to change the code to load your custom fnt file, instead of using the built-in one from `jimp“
module.exports = ({ markdownNode }) => {
  ...
  return Promise.all([
    ...
    jimp.loadFont(path.join(__dirname, 'fonts/DejaVuSansCondensed/DejaVuSansCondensed_white_bold_64.fnt'))
  ]).then(([image, font]) => {
    ....
  });
};
Step 5:
Now, as we are able to generate a banner for each individual blog post, we need to tell Gatsby to point to that image using og:image so that social media sites can fetch them via OpenGraph protocol.
This is my SEO component which I use in all my blog post React component:
import * as React from "react"
import PropTypes from "prop-types"
import { Helmet } from "react-helmet"
import { useStaticQuery, graphql } from "gatsby"

const Seo = ({ description, lang, meta, title, slug }) => {
  const { site } = useStaticQuery(
    graphql`
      query {
        site {
          siteMetadata {
            title
            description
            siteUrl
            social {
              twitter
            }
          }
        }
      }
    `
  )

  const metaDescription = description || site.siteMetadata.description
  const defaultTitle = site.siteMetadata?.title
  const url = `${site.siteMetadata.siteUrl}${slug}`;
  const socialCard = `${url}seo.png`;

  return (
    <Helmet
      htmlAttributes={{
        lang,
      }}
      title={title}
      titleTemplate={defaultTitle ? `%s | ${defaultTitle}` : null}
      meta={[
        {
          name: `description`,
          content: metaDescription,
        },
        {
          property: `og:title`,
          content: title,
        },
        {
          property: `og:description`,
          content: metaDescription,
        },
        {
          property: `og:type`,
          content: `website`,
        },
        {
          property: 'og:image',
          content: socialCard,
        },
        {
          name: `twitter:card`,
          content: `summary`,
        },
        {
          name: `twitter:creator`,
          content: site.siteMetadata?.social?.twitter || ``,
        },
        {
          name: `twitter:title`,
          content: title,
        },
        {
          name: `twitter:description`,
          content: metaDescription,
        },
        {
          name: 'twitter:image',
          content: socialCard,
        },
      ].concat(meta)}
    />
  )
}

Seo.defaultProps = {
  lang: `en`,
  meta: [],
  description: ``,
}

Seo.propTypes = {
  description: PropTypes.string,
  lang: PropTypes.string,
  meta: PropTypes.arrayOf(PropTypes.object),
  title: PropTypes.string.isRequired,
}

export default Seo
Step 6:
Now you can deploy your site to your webserver.
To verify that the banner will be shown when you share your post on Facebook or Twitter, you can use Facebook Debug or Twitter Card Validator.
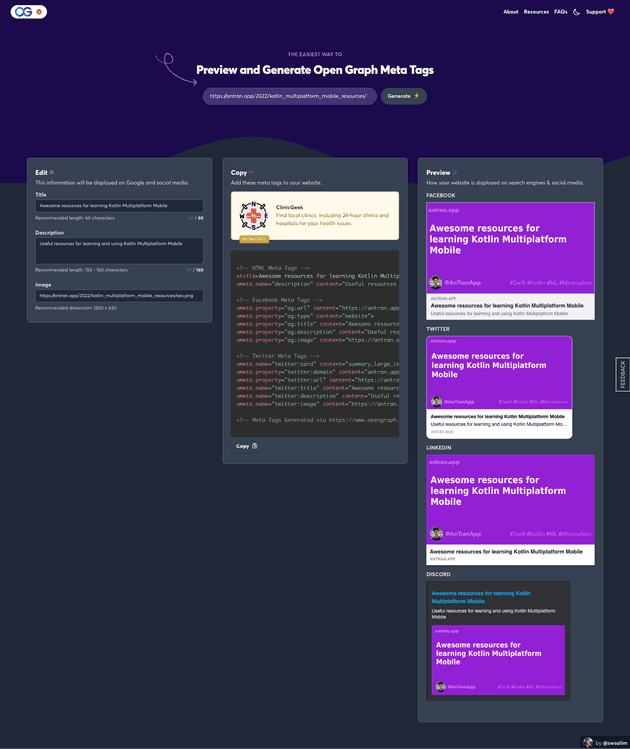
You can also easily verify whether everything works as expected by using OpenGraph.xyz
This is the result of this blog post

Conclusion
Gatsby is a powerful, and simple to use publishing platform. GraphQL is really great and offers a great flexibility to query whatever data that is needed to render the page. With this combination, I can easily add a automatic social media banner generation for all my blog posts with just a few line of code. The result is fantastic and hopefully, I would give my blog posts more attention.
Hopefully, the tutorial is useful for your blog too. Let me know if you have any questions.
I have just added an important feature in my blog setup. Every blog post should have a banner to make it more visually appealing when sharing on social media sites now.
— An Tran (@antranapp) January 28, 2022
I share my setup here: https://t.co/zVm6fNfsbU
